Hand Laid Turnout Tutorial
Page 6
Take your truck/wheels and roll them over the soldered area to make sure the top and edges of the rail are smoothed out. File any high spots if necessary.
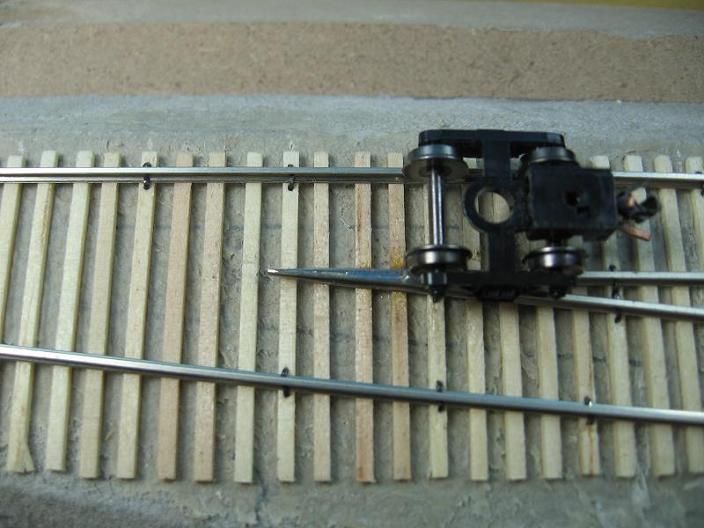
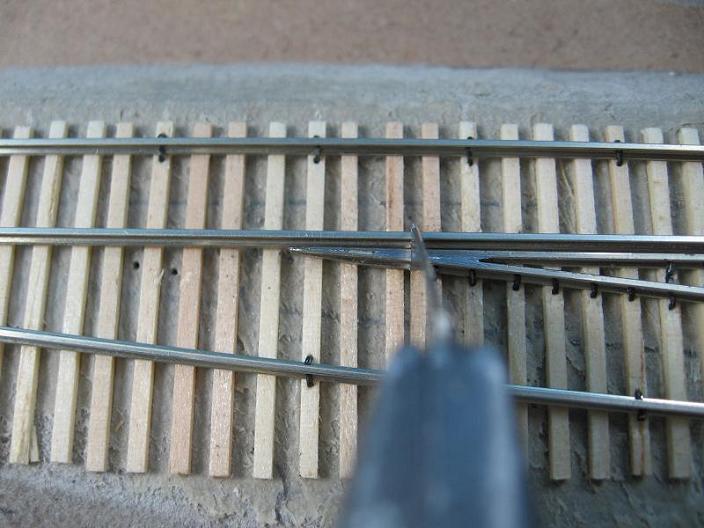
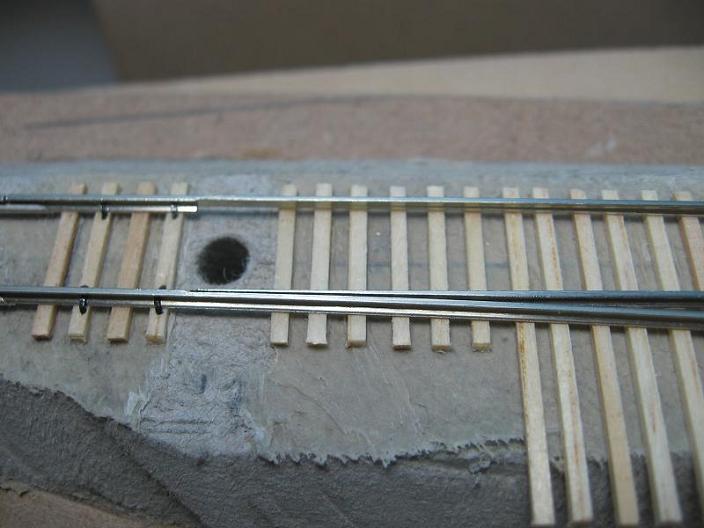
Once more, check the frog points with the trucks to make sure it's centered in the turnout, and then go and spike in the rest of the rails.
NOTE: Leave 3 tie lengths between the point end and the first spikes.
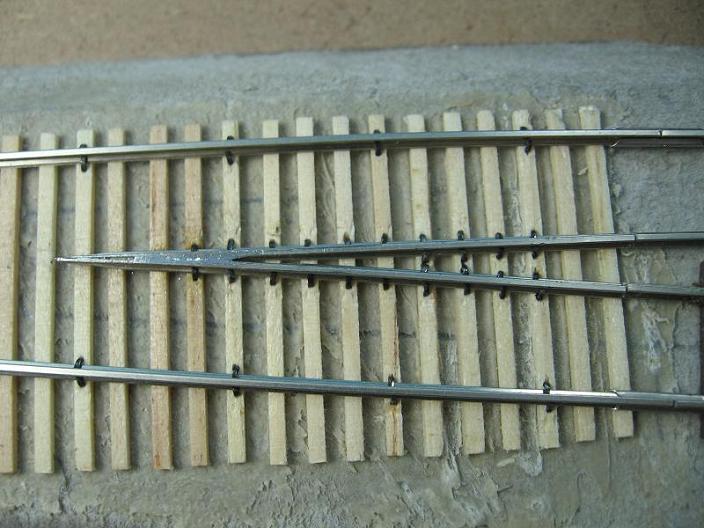
Here is the turnout so far.
Ok, with the Frog points done, we can scratch one of the hardest parts off the list. Next we'll get into the closure rails and start another hard part.
I usually start with the straight route's closure rail, since it's the easier one to put in. Grab a piece of rail and lay it in between the stock rails, with one side even with the recessed area in the stock rail.
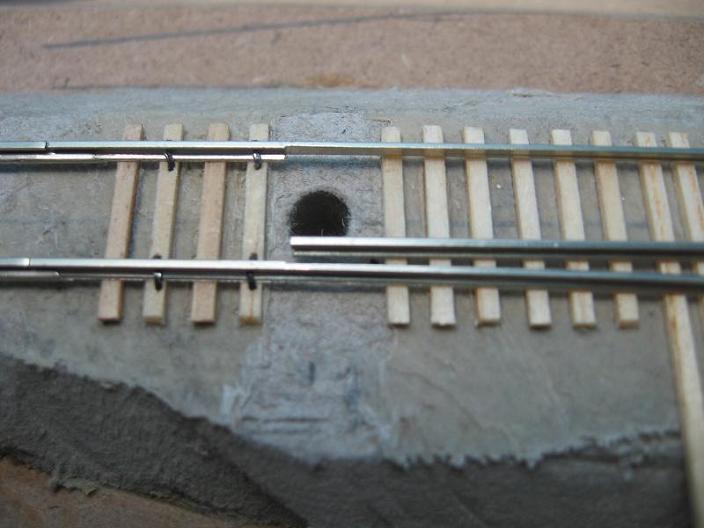
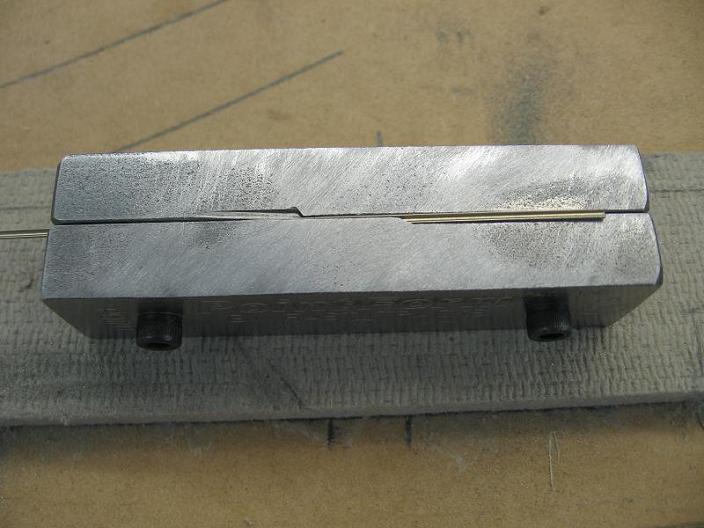
At the frog end, we'll take and mark the rail 3 ties in from the frog point end.
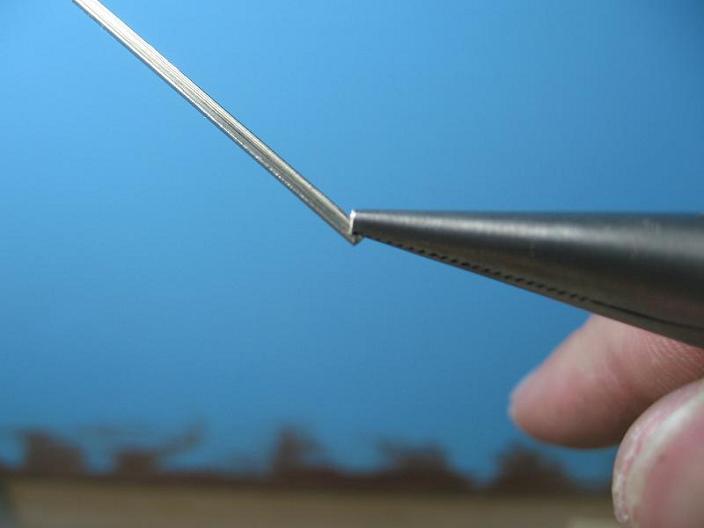
With the rail marked, take and cut it and then slide it into the correct groove of the Fast Tracks Point Former, remembering to slide it further out than normal.
(in this picture you can see the groove for the frog point that was used previously)
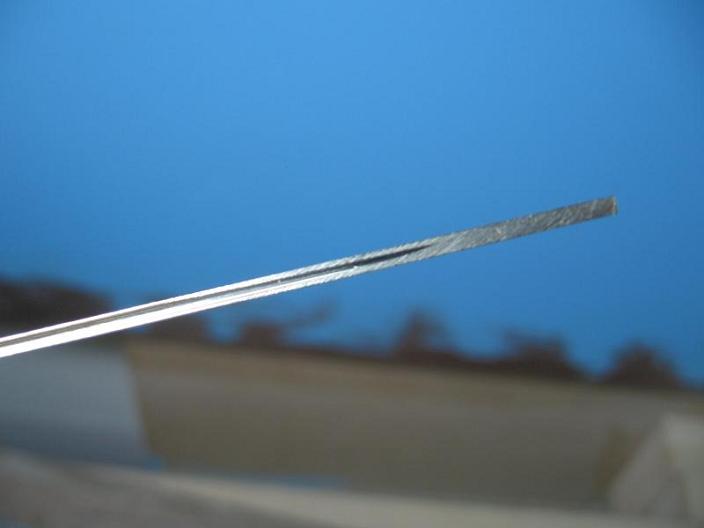
File the rail down, take it out and using the Xacto blade, run it back and fourth around the filed area to get rid of any burrs on the rail. Again, run your fingers around the filed are to make sure it's nice and smooth. You might also have to straighten the rail back out some since the point former tends to put a slight bend in it.
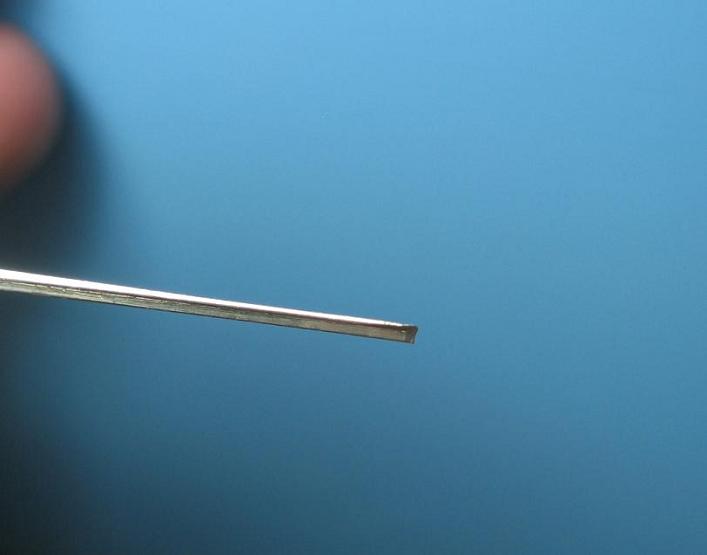
One thing I like to do is file the head down on the inside of the closure rail points to help in avoiding any wheel flange from picking the points. This doesn't have to be much, just enough to flatten the rail out. DO NOT file any of the web, just the head. File at an angle, alot at the end and feathering it out along the rail.
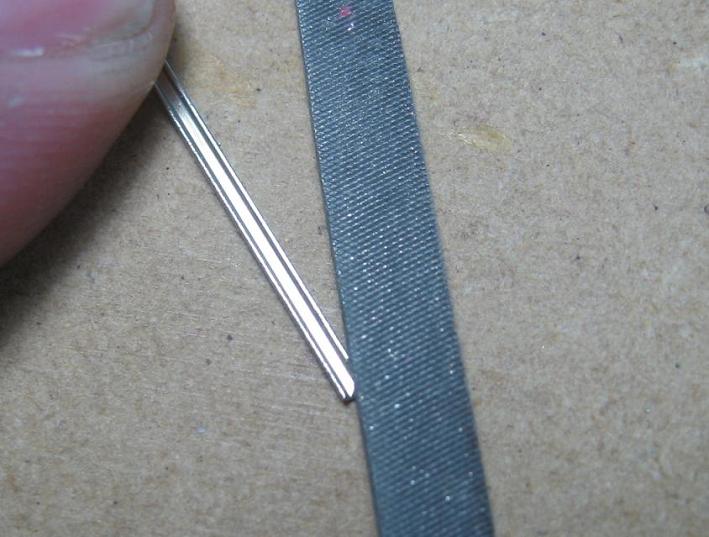
After the head is filed down, I take the pliers and put a slight bend in the area that was just filed down. This assures that the point will make contact in the notched out area of the stock rail.
Again, it doesnt' need to be much of a bend.
Now we can sit the rail back in place.
All material on The Owens Valley Subdivision website is Copyright 2007-2009 by Michael Stoner. None of the material (including text and photographs) on this web site may be reproduced in any form without prior written permission.